

In this guide, I’m showing you how to set up free A/B split testing campaigns for your landing page or website. All you need is WordPress and a Google Analytics account.
What is A/B split testing?
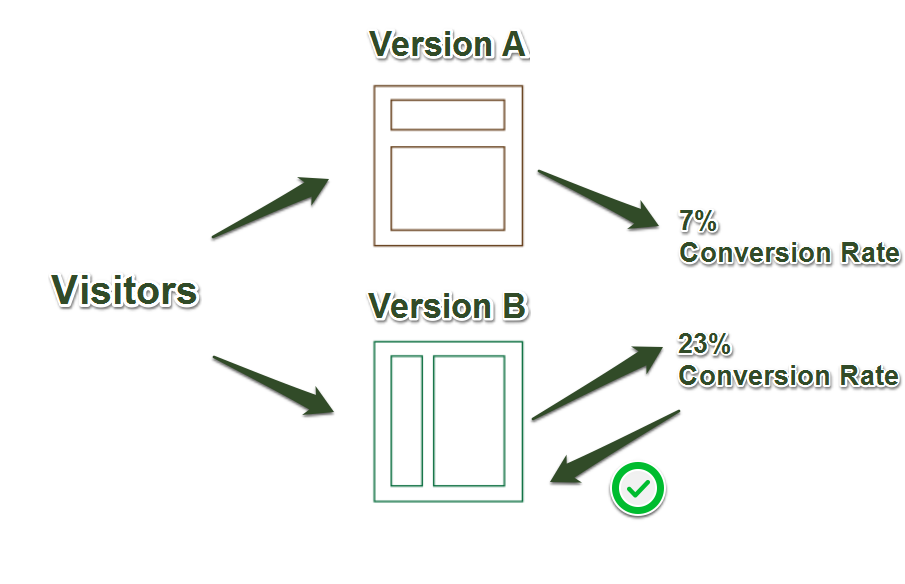
A/B split testing is a convenient way to optimize a landing page or website. The webmaster creates either two different versions of the same page (version A and version B), or creates another version of the current one, so A is the original version and B the new one.
The visitors are then randomly shown one of these versions. The webmaster tracks how each version performs, e.g. in terms of sign-ups or purchases. The final page will then be of course the best performing one.
A/B split testing does not end here though, as every aspect of a page can be split tested, e.g. headlines, images, call to actions, buttons etc. The goal is to have a landing page that converts as well as possible. It’s also possible to split test more than just version A and B, meaning you could also test version C and D etc.
There are amazing tools like LeadPages for doing split testing but not everyone can or wants to afford those tools. Therefore, I want to show you how you can do your own split tests without spending a single cent. The only thing you need is WordPress and a Google Analytics account.
Prepare WordPress for A/B split testing
You need to prepare the following things to start A/B split testing in WordPress:
- Several versions of one page
- Google Analytics account that is connected to your WordPress site
Create several versions of one page
For the following setup process I will be using an example landing page. Check out my tutorial on how to create landing pages in WordPress to create one as well.
To easily create another version of the same page press “Edit” at the page menu.

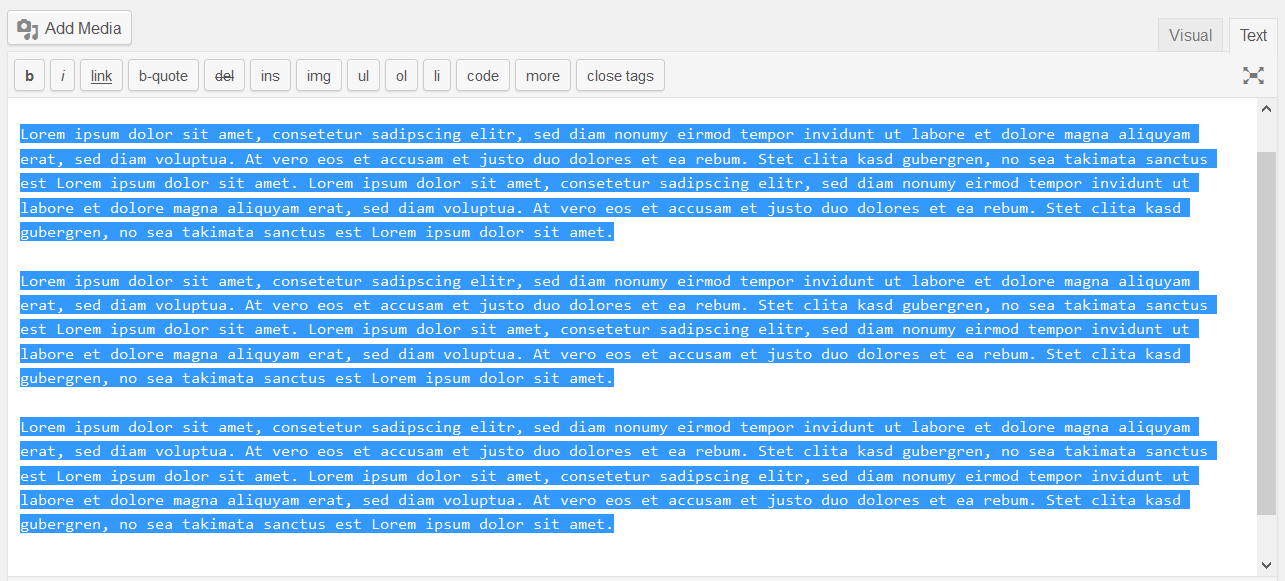
Switch from the visual editor to the text editor. We want to keep the general layout and therefore, need all tags and code which are only displayed in the text editor.

Copy all the text of your page.
Create a new page, go to the text editor again and paste in all text. Now, you will have the exact same page to times. Make the changes you want to test in version B.
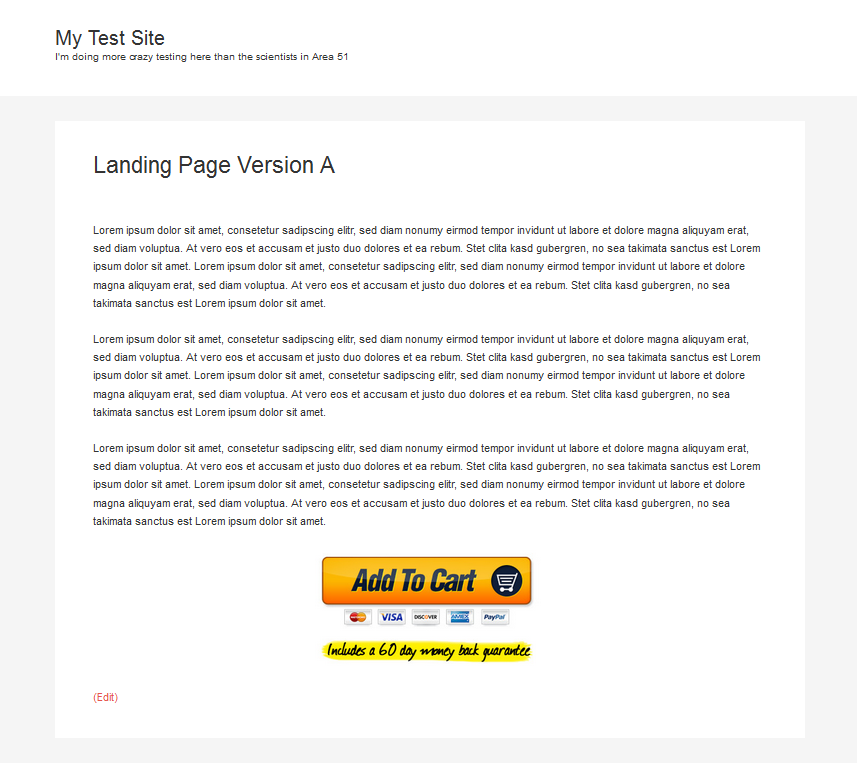
For this article, I will try to test two different buttons to see which performs best.
This is version A of my example landing page
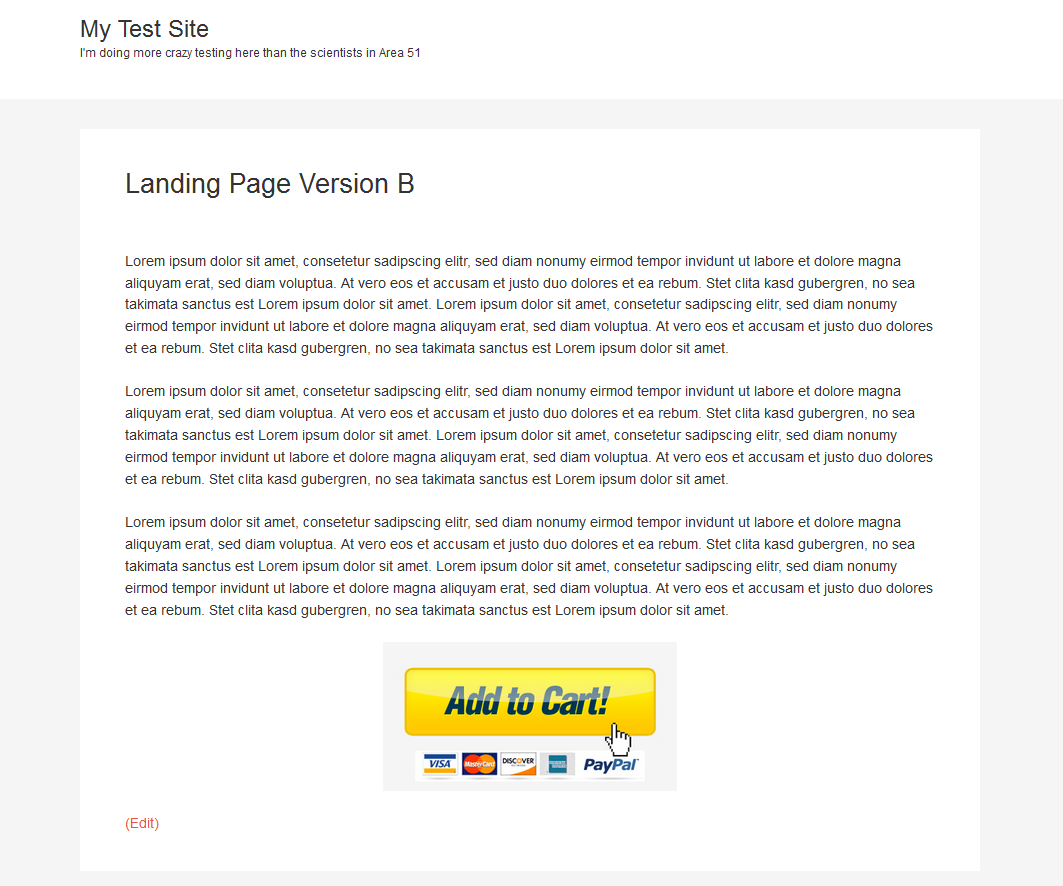
and this is version B.
Connect Google Analytics to your WordPress site
This step is only necessary if you are not tracking stats through Google Analytics on your site. If you are already using it, skip this section and continue reading the next one.
- Register an account or sign in at Google Analytics
- Set up an account for the website in Google analytics
- Add the tracking code to WordPress manually by inserting it between the head tags or use a plugin like Google Analyticator
Set up Web Experiments in Google Analytics
By now, you should have two versions of the page you want to test, be signed in your Google Analytics account and have already connected it to WordPress. The next step is to set up a Google Analytics feature called “Web Experiments”.
1. Activate Web Experiments
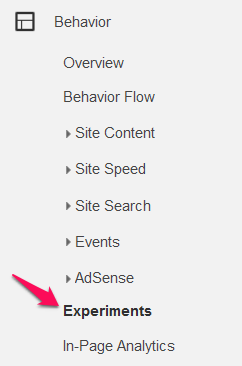
Choose the property of your WordPress site in Google Analytics. Look for “Behavior” and click on “Experiments” below it.
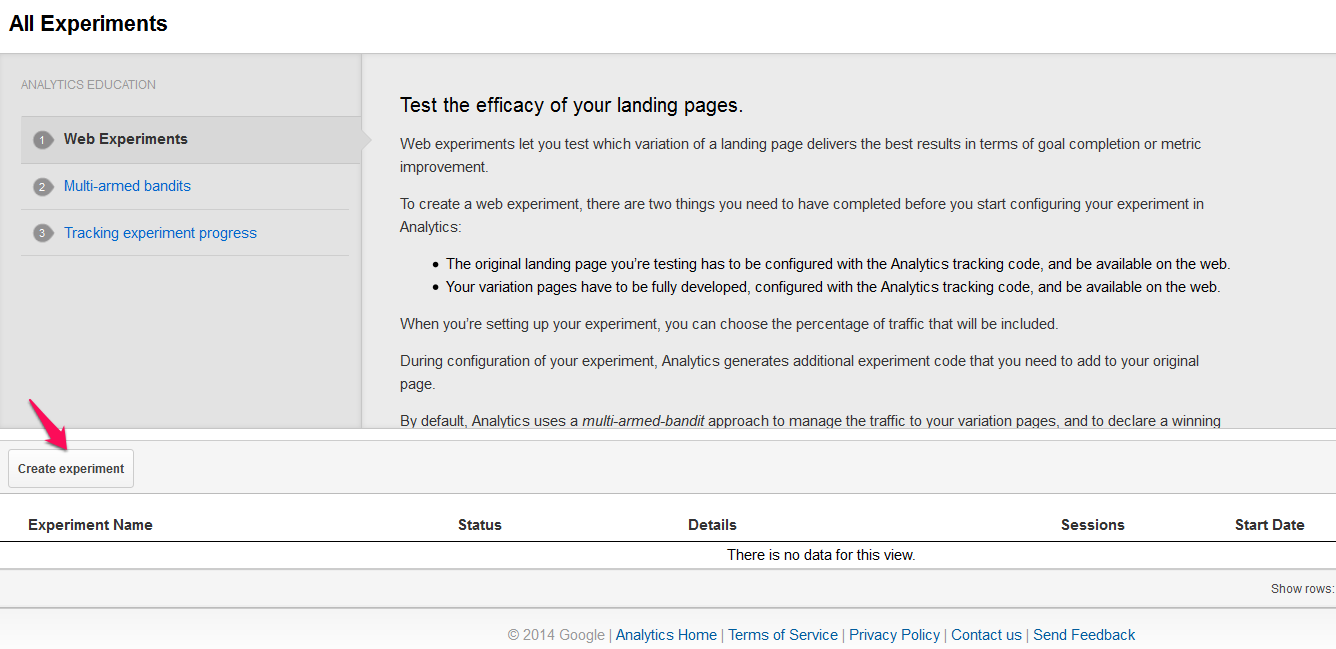
Press “Create experiment”.
2. Set up Web Experiments
2.1 Set up an objective
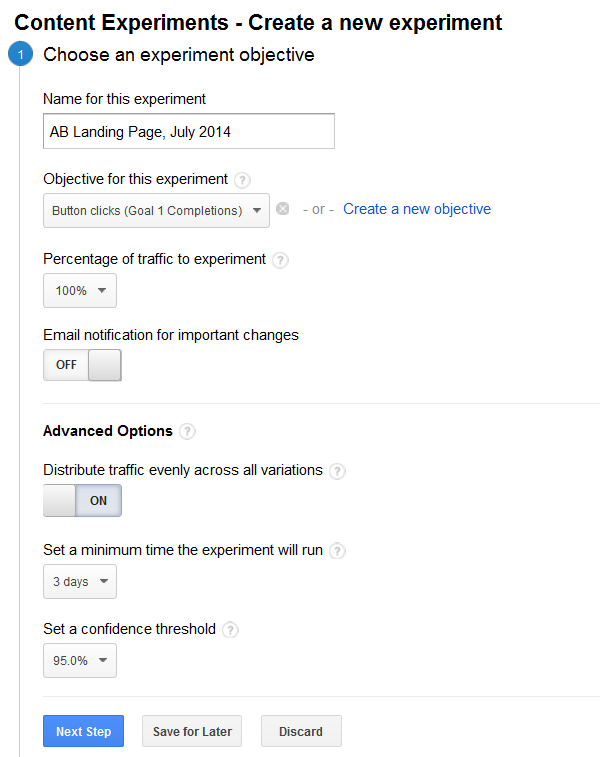
Start by giving your experiment a name, so you can identify it in the future when you might have other experiments running.
The next step is to set up an objective, meaning what we actually want to test. By default, you can choose between bounces, pageviews or session duration. After clicking “create a new objective” you can also define your own objective. In my case, I want to track which button performs better, so my objective will be clicks on button. I’ve set this up in Google Analytics using events.
“Percentage of traffic to experiment” allows you define how many percent of your overall traffic should participate in the experiment. If you plan to do a very drastic experiment, you may want to dedicate a small amount of traffic only. I want 100% of the traffic for this experiment to get fast results.
Choose if you want email notification and press “Advanced Options” to see the hidden options.
In the advanced options, you can set up to distribute the traffic evenly across all variations. I want the traffic numbers to be equal for better comparison. Setting this option to “off”, activates a so-called multi-armed bandit experiment. Google Analytics then checks automatically which version performs better and assigns more traffic to the better performing one. You can read a full explanation of multi-armed bandit experiments here.
Set the minimum time the experiment will run. With confidence threshold you can define how reliable the result should be. This is related to statistical significance which I will explain to you in detail later. I’ve set it to 95%, as I feel this is enough for getting good indicators. The higher you set it, the more traffic is usually needed.
Press “Next Step” to continue the setup process.
2.2 Add original page and variation(s)
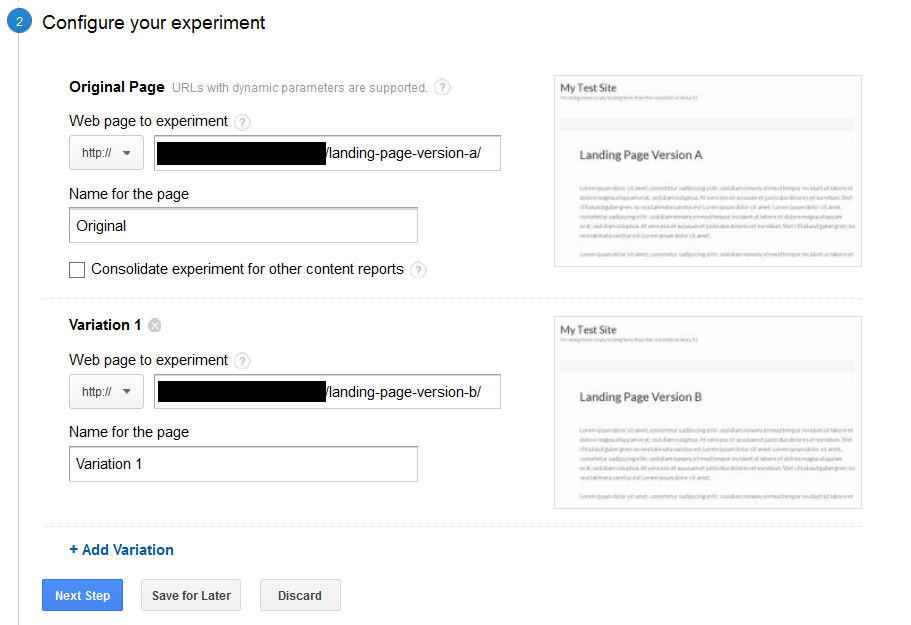
Enter the URLs of original page (version A) and the variation (version B). By clicking on “Add Variation” you could also add your version C, D, E etc.
Press “Next Step” to continue.
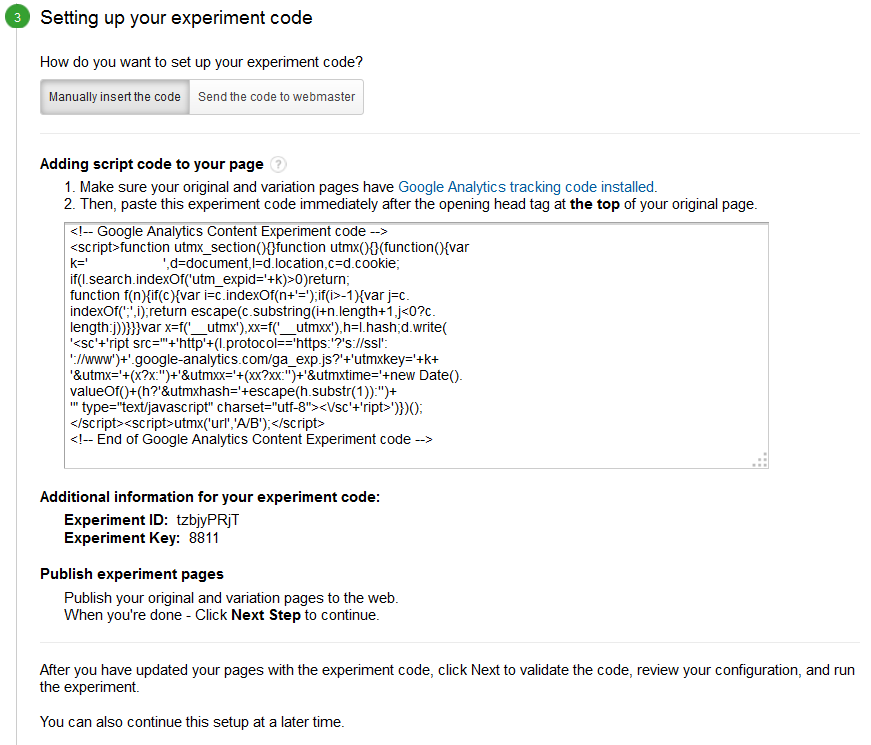
2.3 Add the experiment code to your website
You must have already inserted the original Google Analytics code at this point. Simply add the code you will be shown under “Manually insert the code” before your other Google Analytics code in WordPress.
With “Send the code to webmaster” you can send an email with the code to someone in case you don’t have the rights to edit the website yourself. For example, if you are setting up a split testing campaign for a client.
Press “Next step” to get to the final step.
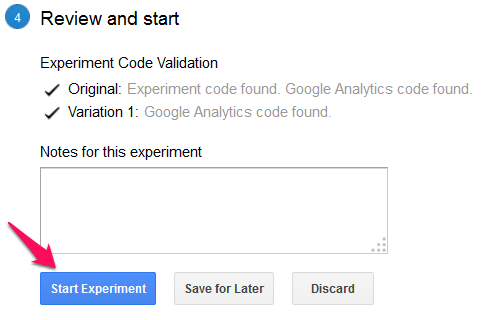
2.4 Review and start split testing
Google Analytics will now check if you implemented the code correctly. If you did so, add some notes or just directly start split testing by clicking “Start Experiment”.
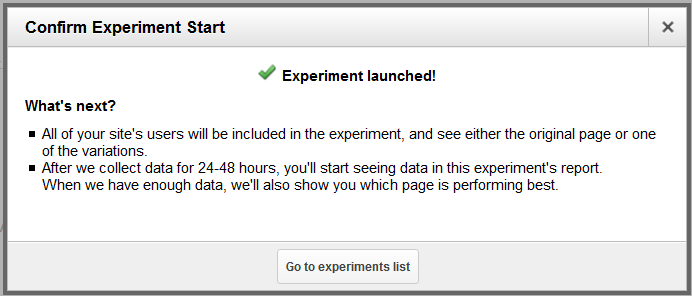
The experiment has been launched. It will take 24-48 hours until you can see the first results. That’s it! You set up split testing and will find out which version is the better converting one soon.
Warning: Consider statistical significance
It’s very important that we know if the numbers we collected through split testing actually have a significance; that is, a meaning we can take seriously.
I’m sure you have read a headline like “Learn How I Increased My Conversion Rate By xy% With One Small Change”. Those numbers are sometimes only a shady way to attract your attention, but sometimes they indeed are the result of an awesome adjustment. But how can you know if a number really says something?
There is a formula you can use to determine if the numbers are actually significant. You could read the calculation process in detail here, but I recommend simply using an online calculator for that, like the one available at zettasphere.
Let’s say I increased the click rate of a button by changing its color.
I can then start to write an article with a manipulative headline to gather clicks and present myself as a guru 😉 But wait!
My finding does not mean that there is a correlation between me changing the button and an increase in clicks. Maybe it was just a coincidence. There needs to be a big enough number of visitors (sample size) and a long enough time of split testing to get significant numbers.
How long you should keep on split testing depends on the traffic you get and the significance of the numbers you track. The more traffic you have, the shorter it will take to collect a significant number of visitors. However, it is also possible to get statistically significant numbers with small sample sizes because it’s also important how far the numbers are apart from each other.
A significance of 95% will be okay for me. After all, I am an Internet marketer and not a scientist who needs numbers as significant as possible. Also, I often have to pay for traffic so the economic factor also plays a big role here.
I just want to make you aware that you need to let split testing campaigns run long enough or otherwise you will waste your time by working with results that do not express anything.
What’s your experience with split testing? Is it worth the time and hassle or just a time waster?
")

